In this blog we ‘ll learn about React Native setup First Step Towards Mobile Application Development. We know that react is developed by Meta and most of the application are building on react. React Native is much similar to React. The only difference is that React is use to develop the web applications, whereas React Native is use to develop the mobile applications. Using react native we can create applications on both android and iOS platform. As name suggest native means we don’t have to develop the same app in two different platform. We just develop the application in react native and just build the code on specific platform. Like for android we build this code in android studio and for iOS we build this code on mac platform.
Let’s setup the React Native environment and develop a simple Hello Word application in React Native. In this blog we ‘ll see how to create a application for android using react native.
Setup React Native Environment
First we have to setup the react native environment. As react is build on top of NodeJS. So we need to make sure that we have nodeJs installed as a very first step. You can follow any online resource to see how you can download the nodeJS. Once you done with the nodeJS installation run below command to check if it’s succesfully installed or not.
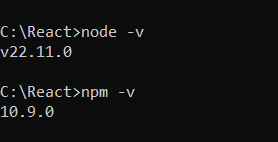
node -v
npm -v
Run the above two commands one by one. And if you see the output like below screenshot means you have installed nodeJS successfully. If you get any error after running these commands means something wrong with your installation just fix that.
After installing the nodeJS we have to install the react native cli (command line interface). We can say react native cli is a tool provided by react native framework to help developers for creating, building and managing react native application.
Run below command in your command prompt to install the react native cli.
npm install -g @react-native-community/cliCode language: CSS (css)After running above command wait for sometime it ‘ll install all the package required by react native applications. After installation done run below command to verify that react native cli is successfully installed or not for successfully installed you ‘ll get react native version else see some error.
npx react-native --versionCreate React Native Hello Word application
At this point we have installed nodeJS and react native cli in our system. It’s time to create a simple hello word application in react native. To create a react native application run the below command.
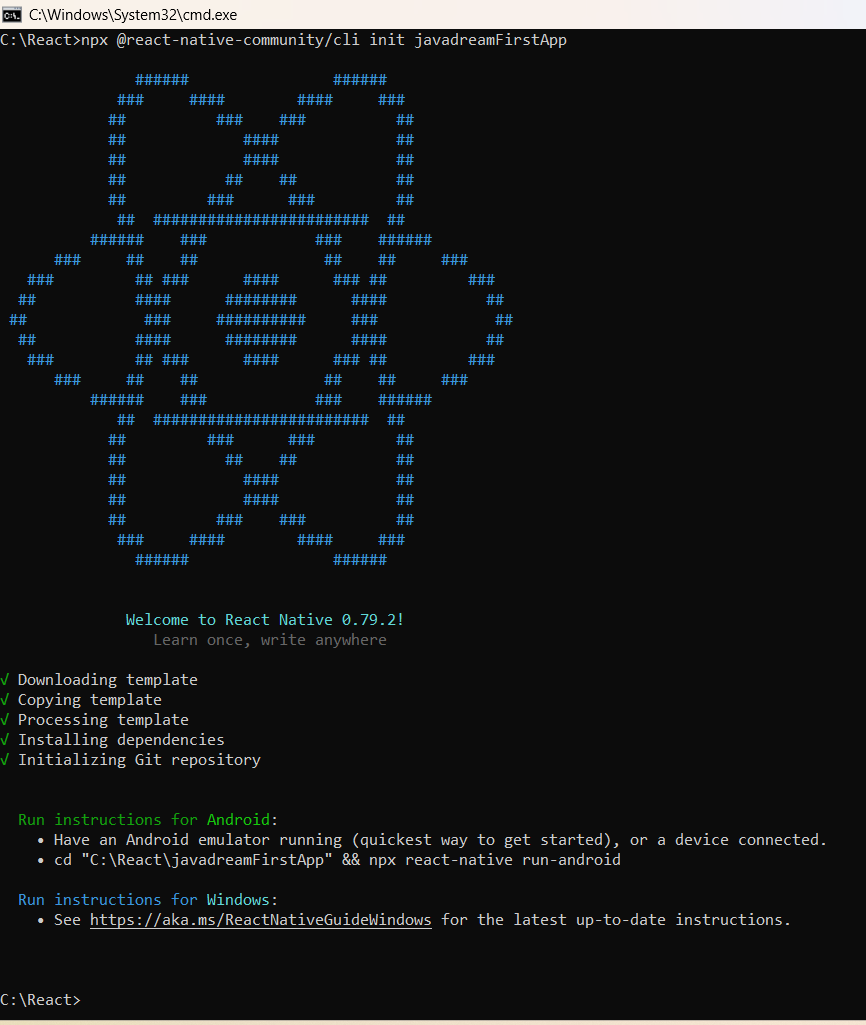
npx @react-native-community/cli init javadreamFirstAppCode language: CSS (css)javadreamFirstApp is the name of our application. You can change as per your project name. Once you run the above command it ‘ll take some time to create the project. You ‘ll see something like below screenshot on your screen. Once completed you can check current directory you have a folder created with the given name.
Go to that directory and type code . in your command prompt. It ‘ll open this project in Visual Studio code.
Project Structure
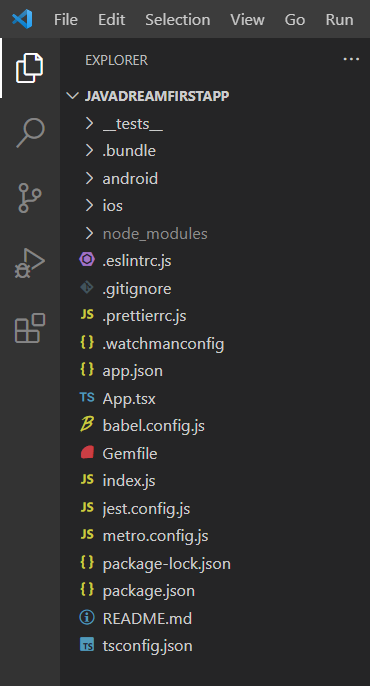
Project structure look like below once you open it on visual studio code.
Basic understanding of Android Studio
We are developing this application for android platform. So make sure we have android studio installed in our system for testing the application. We don’t need to master in android studio IDE. Just need to focus on few things like AVD (Android virtual device). To setup or open AVD you need to follow below steps on your Android Studio IDE.
- Click on Tools and select the Device Manager
- Another way on right side corner you ‘ll get Device Manger icon just click on that.


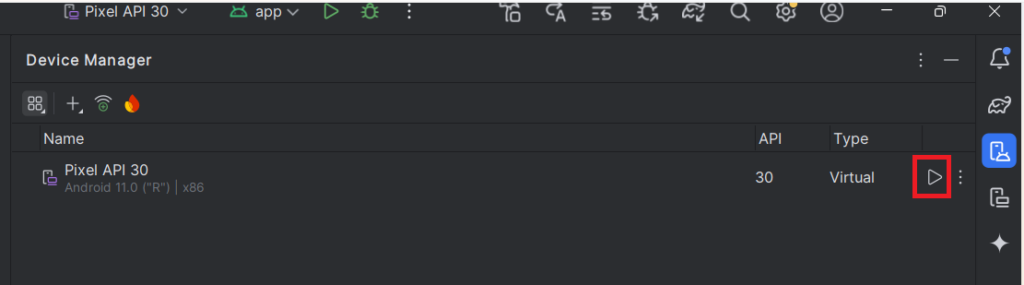
After running the AVD you ‘ll see a mobile like screen. This is a virtual machine that act as a mobile so you can test your application here.
You can also verify the connected device by running the below command in your command prompt. This command display the list of all devices attached.
adb devicesIt’s time to run the application. Go to your react native application directory and run the below command. This command start the Metro bundler in your terminal.
npx react-native startAfter running above command you ‘ll see something like below screenshot.
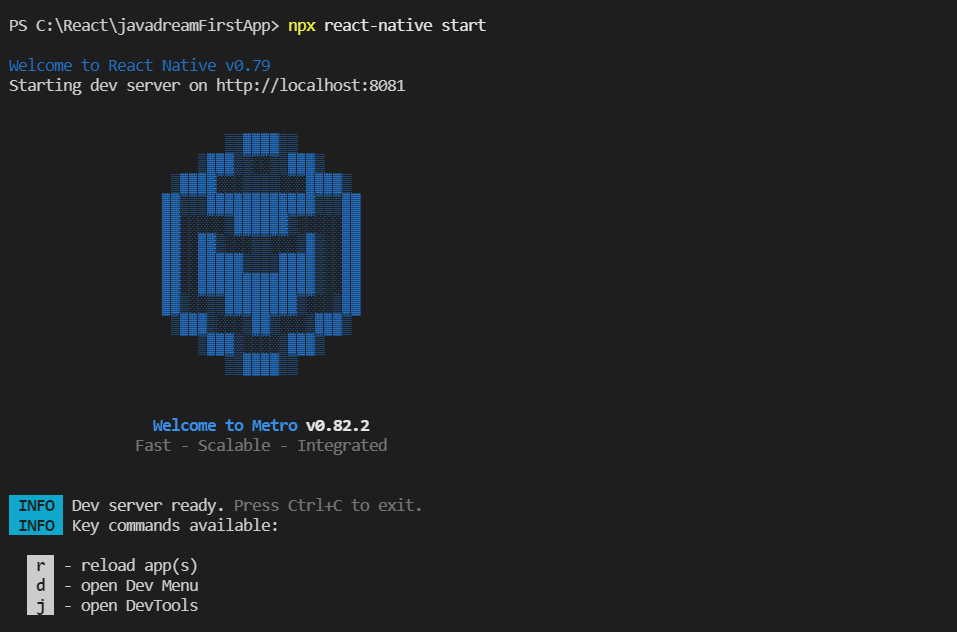
As we mentioned we run this application on android platform. So we ‘go ‘ll run the below command in our react native application directory. Make sure you run android AVD as mentioned in above steps.
npx react-native run-androidIt ‘ll take some time to download dependency if you are running this first time. So wait for some time and see your AVD device. If everything goes smoothly you ‘ll see your AVD device like below screenshot.
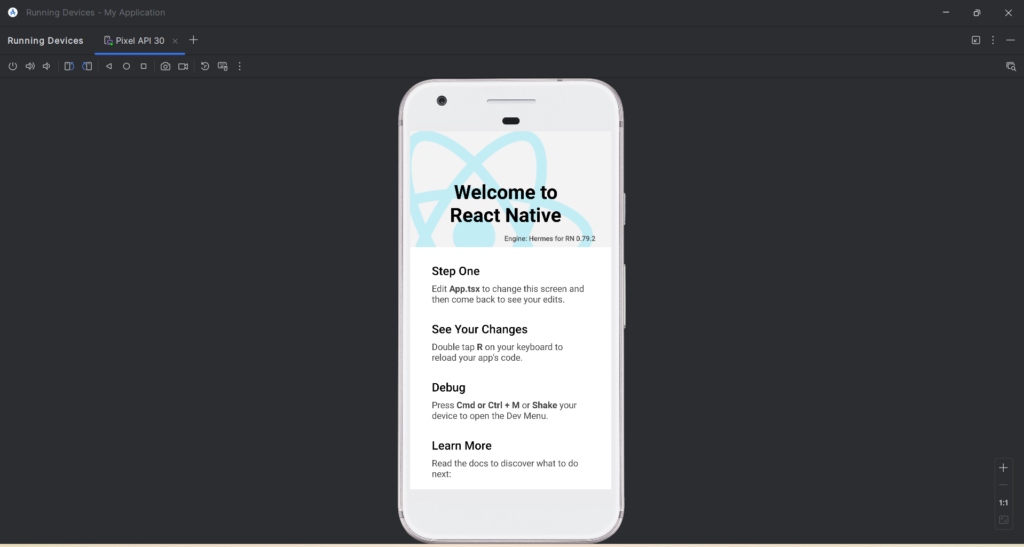
You can see our first project is running succesfully on android AVD device. This project is created using react native. It means this project can be run on android as well as iOS. We run this in android platform now because we are using window computer. But if you have mac system you can run the below command and see the output on your apple device.
npx react-native run-iosProject Structure Explanation
You have created your first react-native project successfully. Congrats just go through the project structure and understand how it’s working. You can start looking at index.js file. This index.js file is the starting point of your react-native application and it registered App component by default. This App component is the first thing that display on your mobile screen. So whatever you want to display just change your App.js or App.tsx file accordingly.
Next important thing is package.json. This file is used to manage the dependencies. It’s like pom.xml file in spring boot project where we manage the dependency of our project.
Other is android and iOS folder where we write platform specific code. Like to manage activity and other stuff.
_tests folder is use to write test cases. Here you can write test cases for your react-native components.